Building a house in Gurgaon involves far more than picking a plan off the internet and hiring a mason. Between plot documentation, architectural design, structural approvals, contractor selection, and the actual construction stages, there's a sequence that, if followed properly, saves you money, time, and a lot of avoidable stress. This guide walks through that sequence end to end.
None of the steps below are optional shortcuts you can skip to save a few weeks. Each one exists because skipping it tends to cost more later, in rework, disputes, or delayed approvals. Treat this as the order of operations, not a checklist to cherry-pick from.
Building a House in Gurgaon: The Big Picture
At a high level, home construction in Gurgaon (and Delhi NCR generally) moves through four broad phases: planning (plot, budget, design), approvals (structural drawings, map sanction), construction (foundation through finishing), and fit-out (interiors, furnishing, handover). Most of the decisions that determine your final cost and quality are made in the first phase, well before a single brick is laid.
Step 1: Plot Due Diligence and Documentation
Before anything else, confirm the basics of the plot itself:
- Clear title and ownership documents, free of disputes or pending litigation.
- Confirmation that the land use is residential and falls within an approved sector, colony, or licensed development.
- Plot dimensions verified on-site against the sale deed and site plan.
- Applicable building bylaws for the area: permissible ground coverage, floor area ratio (FAR), height restrictions, and setbacks.
- Utility access: municipal water, sewage, and electricity connections available or feasible.
Skipping this step is how homeowners end up redesigning a finalized plan months later because the actual permissible construction on their plot was different from what they assumed.
Step 2: Hire an Architect and Finalize Design
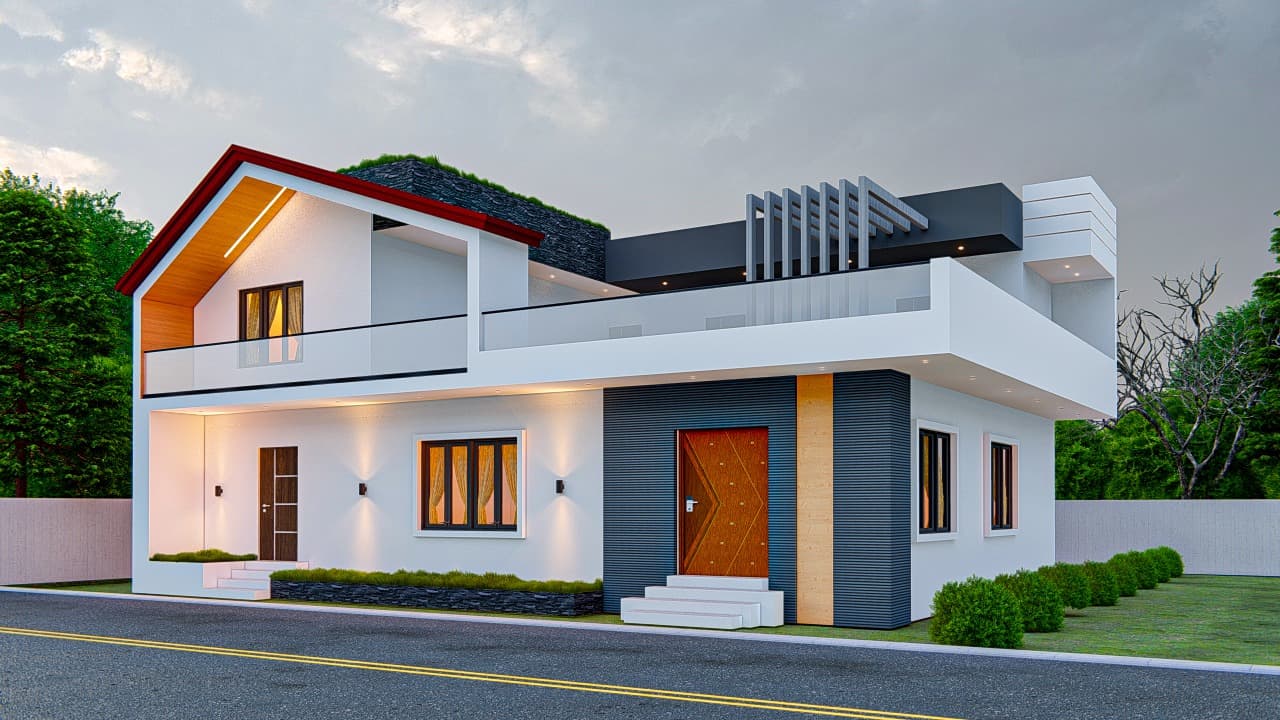
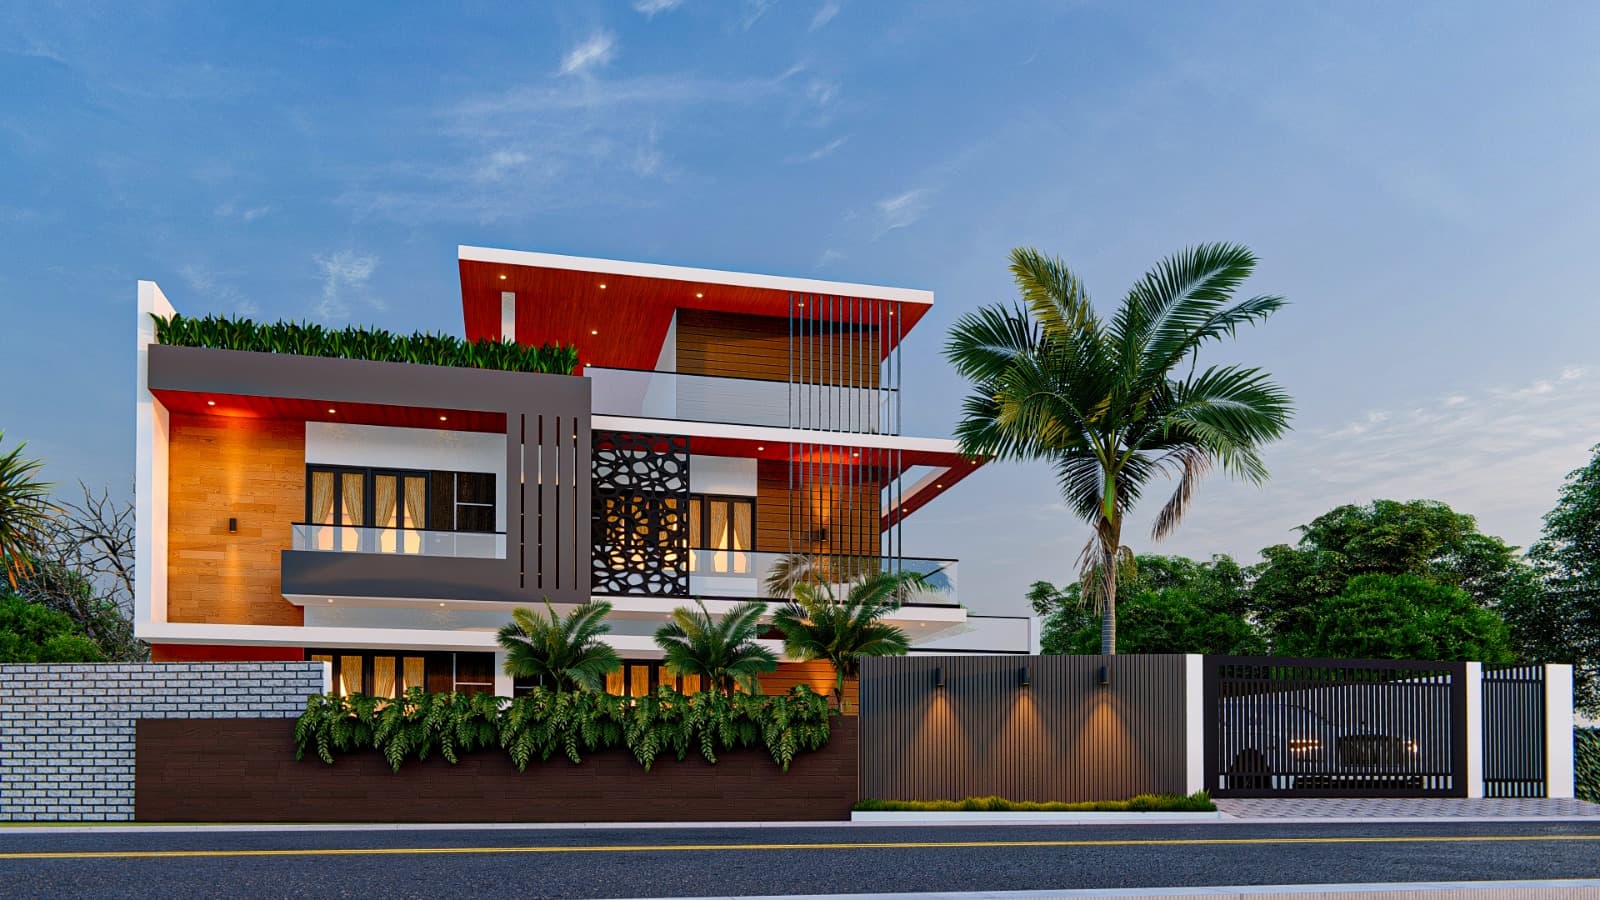
With the plot confirmed, the next step is design: floor planning, elevation, and how the house actually works for the way your family lives. This is also where budget, structural feasibility, and Vastu preferences (if relevant to you) get reconciled into one coherent plan, rather than fought over mid-build. A good architecture process typically includes a site visit, a requirement discussion, floor plan iterations, and a 3D elevation before drawings are finalized.
Step 3: Structural Design and Statutory Approvals
Once the architectural plan is locked, structural design (column and beam layout, foundation design, reinforcement detailing) is prepared, and the drawings go for map approval with the relevant municipal or development authority. Approval timelines vary depending on documentation completeness and the authority's current backlog, which is exactly why starting construction before this is sanctioned is a risk most homeowners shouldn't take.
Step 4: Hire a Contractor or Construction Company
With approved drawings in hand, you select who will actually build the house. Broadly, you have two routes: hiring a contractor directly and managing execution yourself, or working with a construction company that manages the site, labour, and material procurement against the approved drawings. The right choice depends on how much time you can dedicate to site supervision and how comfortable you are managing multiple vendors.
Step 5: Foundation and Structural Work
Construction itself begins with excavation and foundation, followed by the structural frame (columns, beams, slabs) floor by floor. This phase is the least visually exciting but the most consequential: errors here are the hardest and most expensive to correct later. Quality control on steel, concrete grade, and curing during this stage matters more than almost anything else in the build.
Step 6: Electrical, Plumbing and MEP Rough-In
Once the structure for a floor is up and brickwork/blockwork is complete, electrical conduiting, plumbing lines, and any other mechanical services are laid into the walls and slabs before plastering seals everything in. This is the stage where point counts, switchboard locations, and bathroom fixture positions need to be fully finalized, because relocating a plumbing line after plastering means breaking finished work.
Step 7: Finishing, Flooring and Fixtures
Plastering, flooring, tiling, door and window installation, painting, and sanitary fixture fitting happen in this stage. This is also where most of the visible specification decisions (tile brand, paint shade, door style) show up, and where a clear brief from Step 2 pays off: fewer on-site decisions made in a hurry.
Step 8: Interior Design and Fit-Out
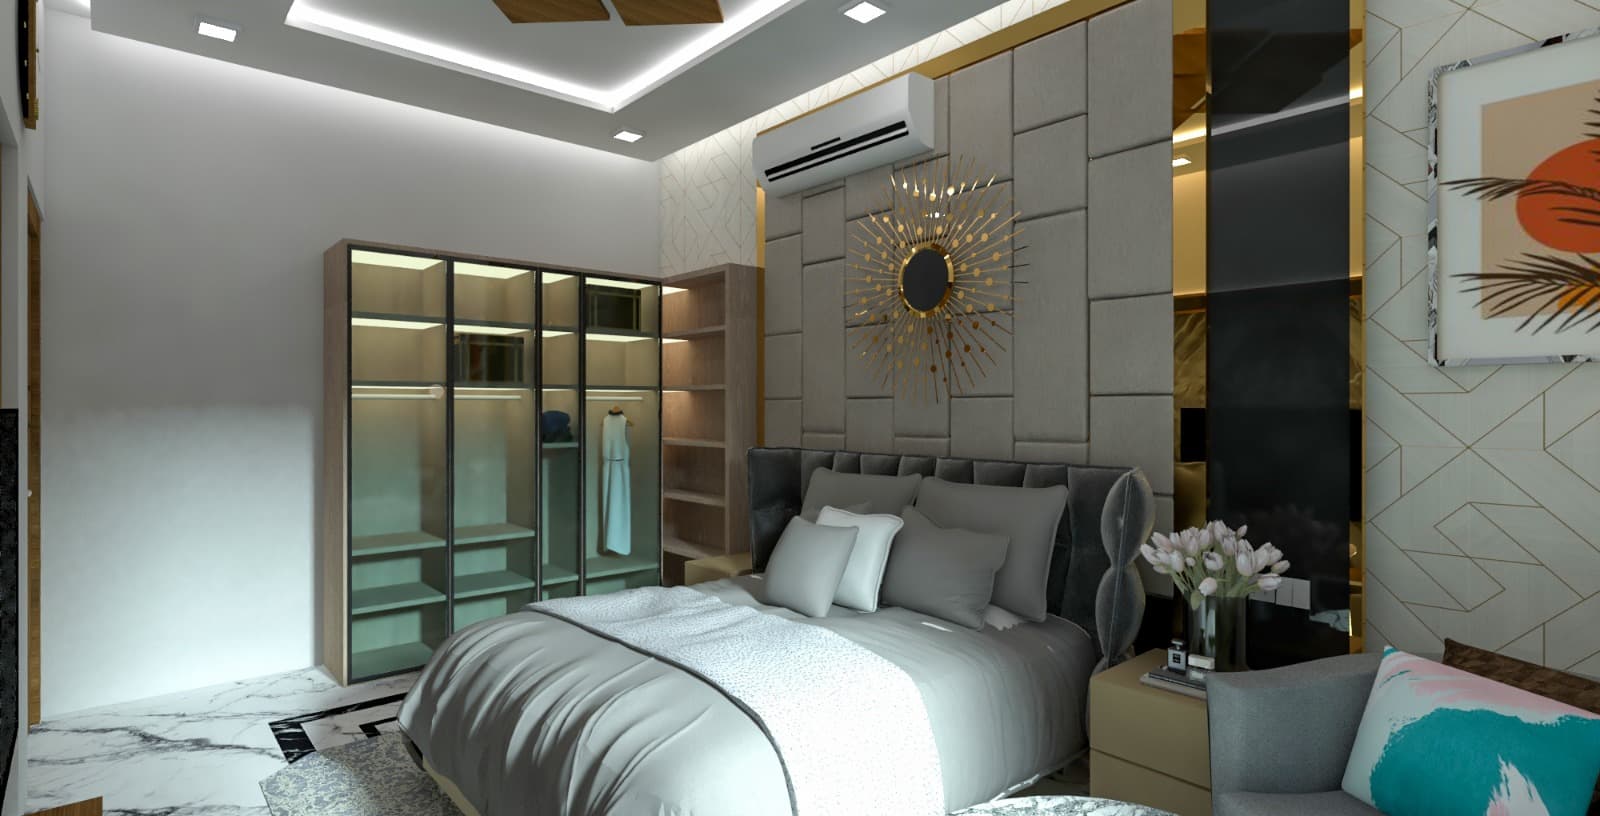
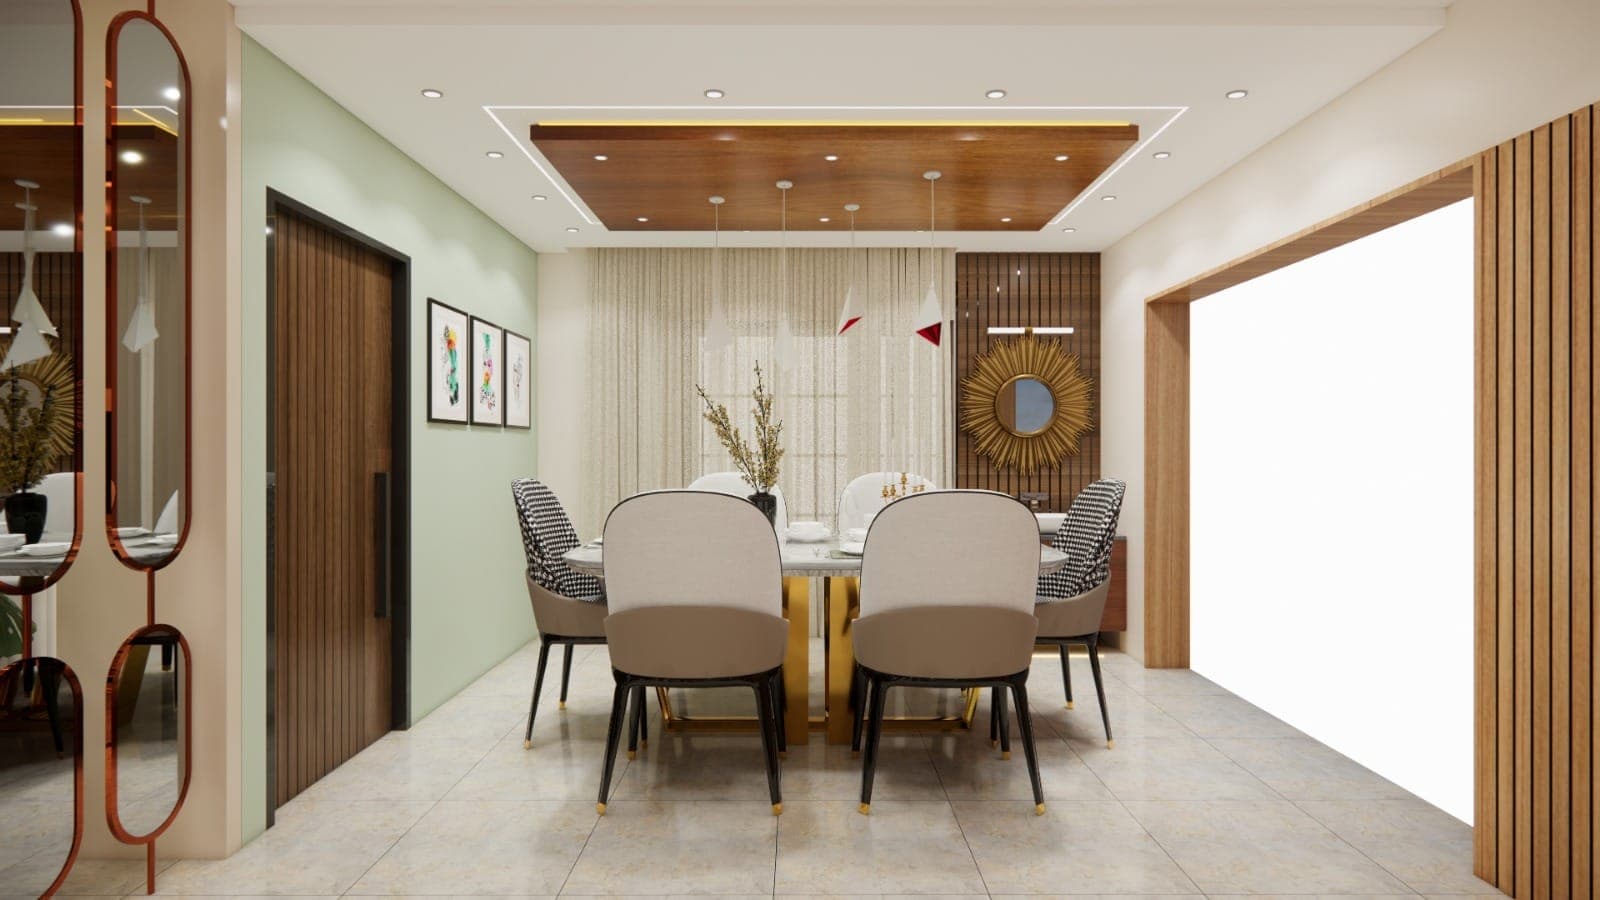
Modular kitchens, wardrobes, false ceilings, lighting design, and furniture typically follow structural handover, though planning for them should start much earlier so that civil work (like kitchen platform dimensions or ceiling heights for false ceiling drops) accounts for the interior design plan rather than fighting it afterward.
Realistic Timeline From Start to Handover
Timelines vary with built-up area, floor count, and design complexity, but a broad reference point looks like this:
| Phase | Typical Duration |
|---|---|
| Design, structural drawings and approvals | 6 – 10 weeks |
| Foundation and structure (per floor) | 4 – 6 weeks |
| MEP rough-in and plastering | 3 – 5 weeks |
| Flooring, finishing and fixtures | 6 – 8 weeks |
| Interiors and fit-out | 6 – 10 weeks |
| Total (typical G+2 residence) | 12 – 16 months |
Illustrative timeline: not a project schedule.
Common Mistakes to Avoid Along the Way
- Starting construction before the design is finalized. Every mid-build change costs more than the same change on paper.
- Skipping structural approval to save time. This creates legal and resale risk that outweighs any schedule gained.
- Choosing a contractor purely on the lowest quote. Cost gaps usually show up later as material substitutions or corner-cutting.
- Not finalizing electrical and plumbing points before plastering. Retrofitting later means breaking finished walls.
- Treating interiors as an afterthought. Ceiling heights, kitchen platforms, and wardrobe niches are easier and cheaper to plan into the civil work than to retrofit.
How to Get Started the Right Way
The single highest-leverage decision in this entire process is getting the design and planning phase right before anything is built. That's the step that determines your budget accuracy, your approval timeline, and how smoothly the rest of the build goes.
Ready to start planning your home?
Talk to our team about your plot and requirements, or get a preliminary construction cost estimate before you begin.